
Quick start
This is the short version. Sign up, connect one account, post something. Ten minutes, give or take, and most of that is waiting for a platform to finish its permission screen.
-
Create your account
Sign up at publiz.xyz with an email and password, or use one of the social sign-in buttons. If you sign in with a provider that doesn’t share your name, Publiz asks for it once and then gets out of the way. There are four ways in, all covered in signing in.
-
Make a workspace
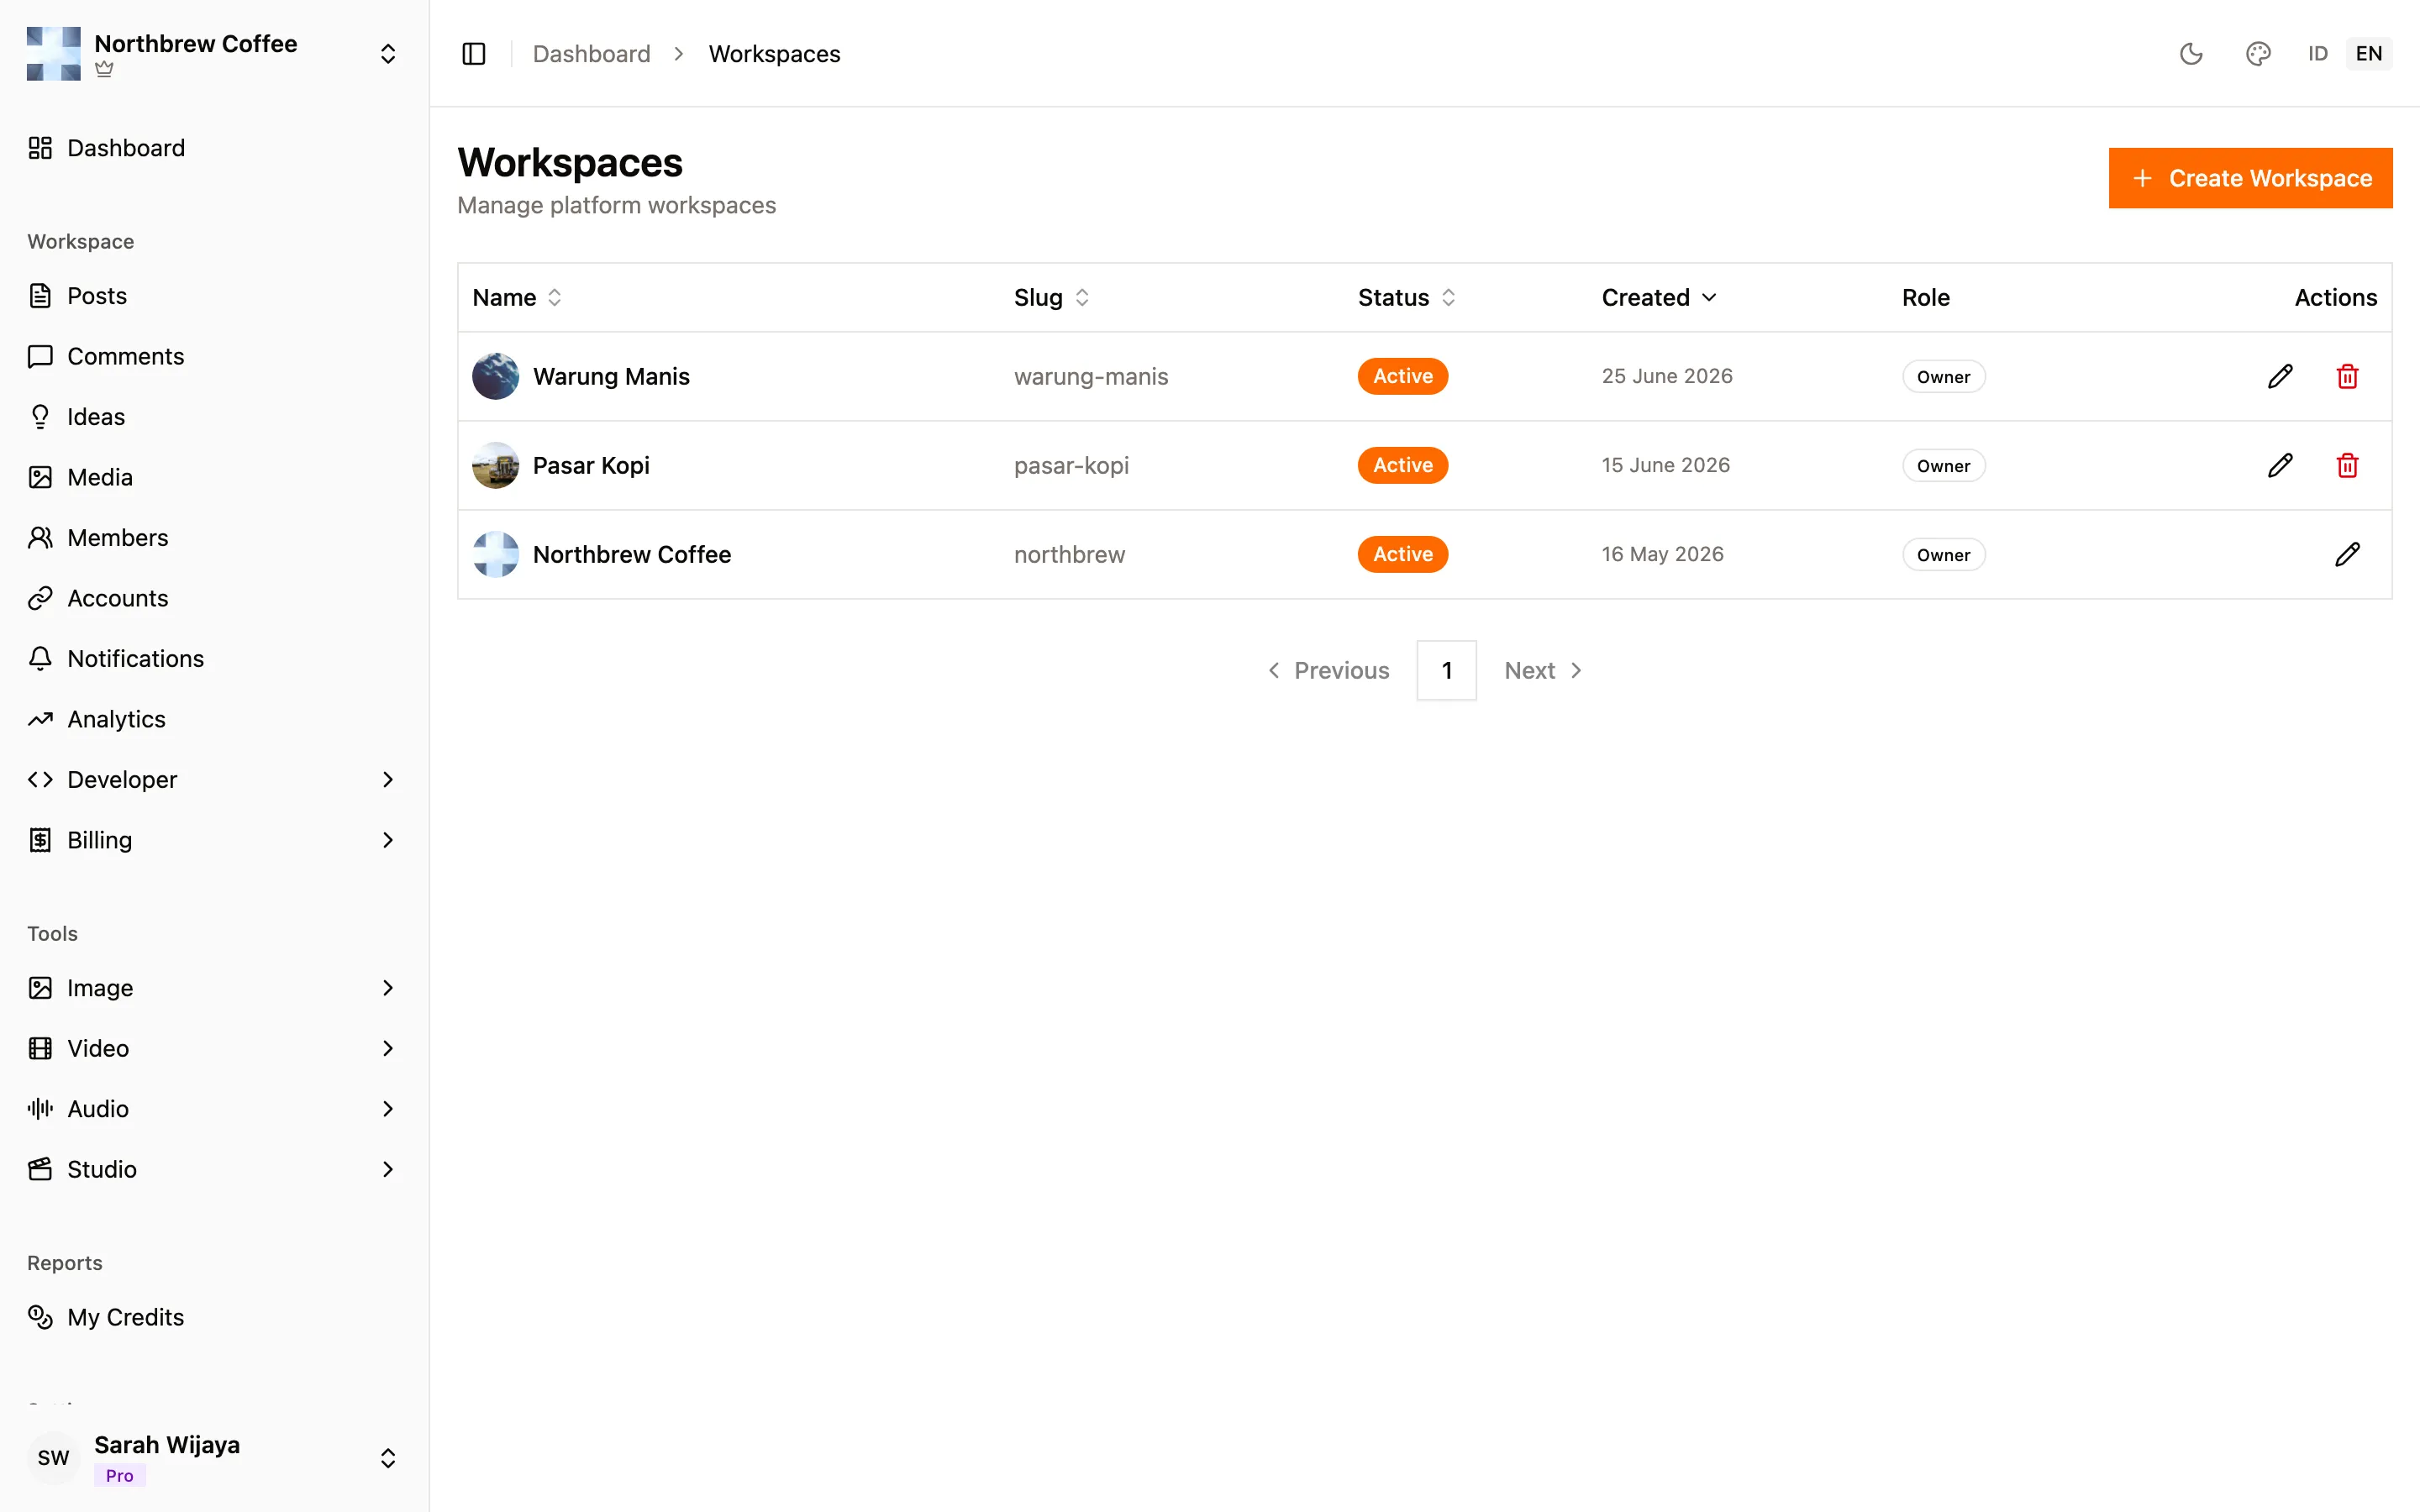
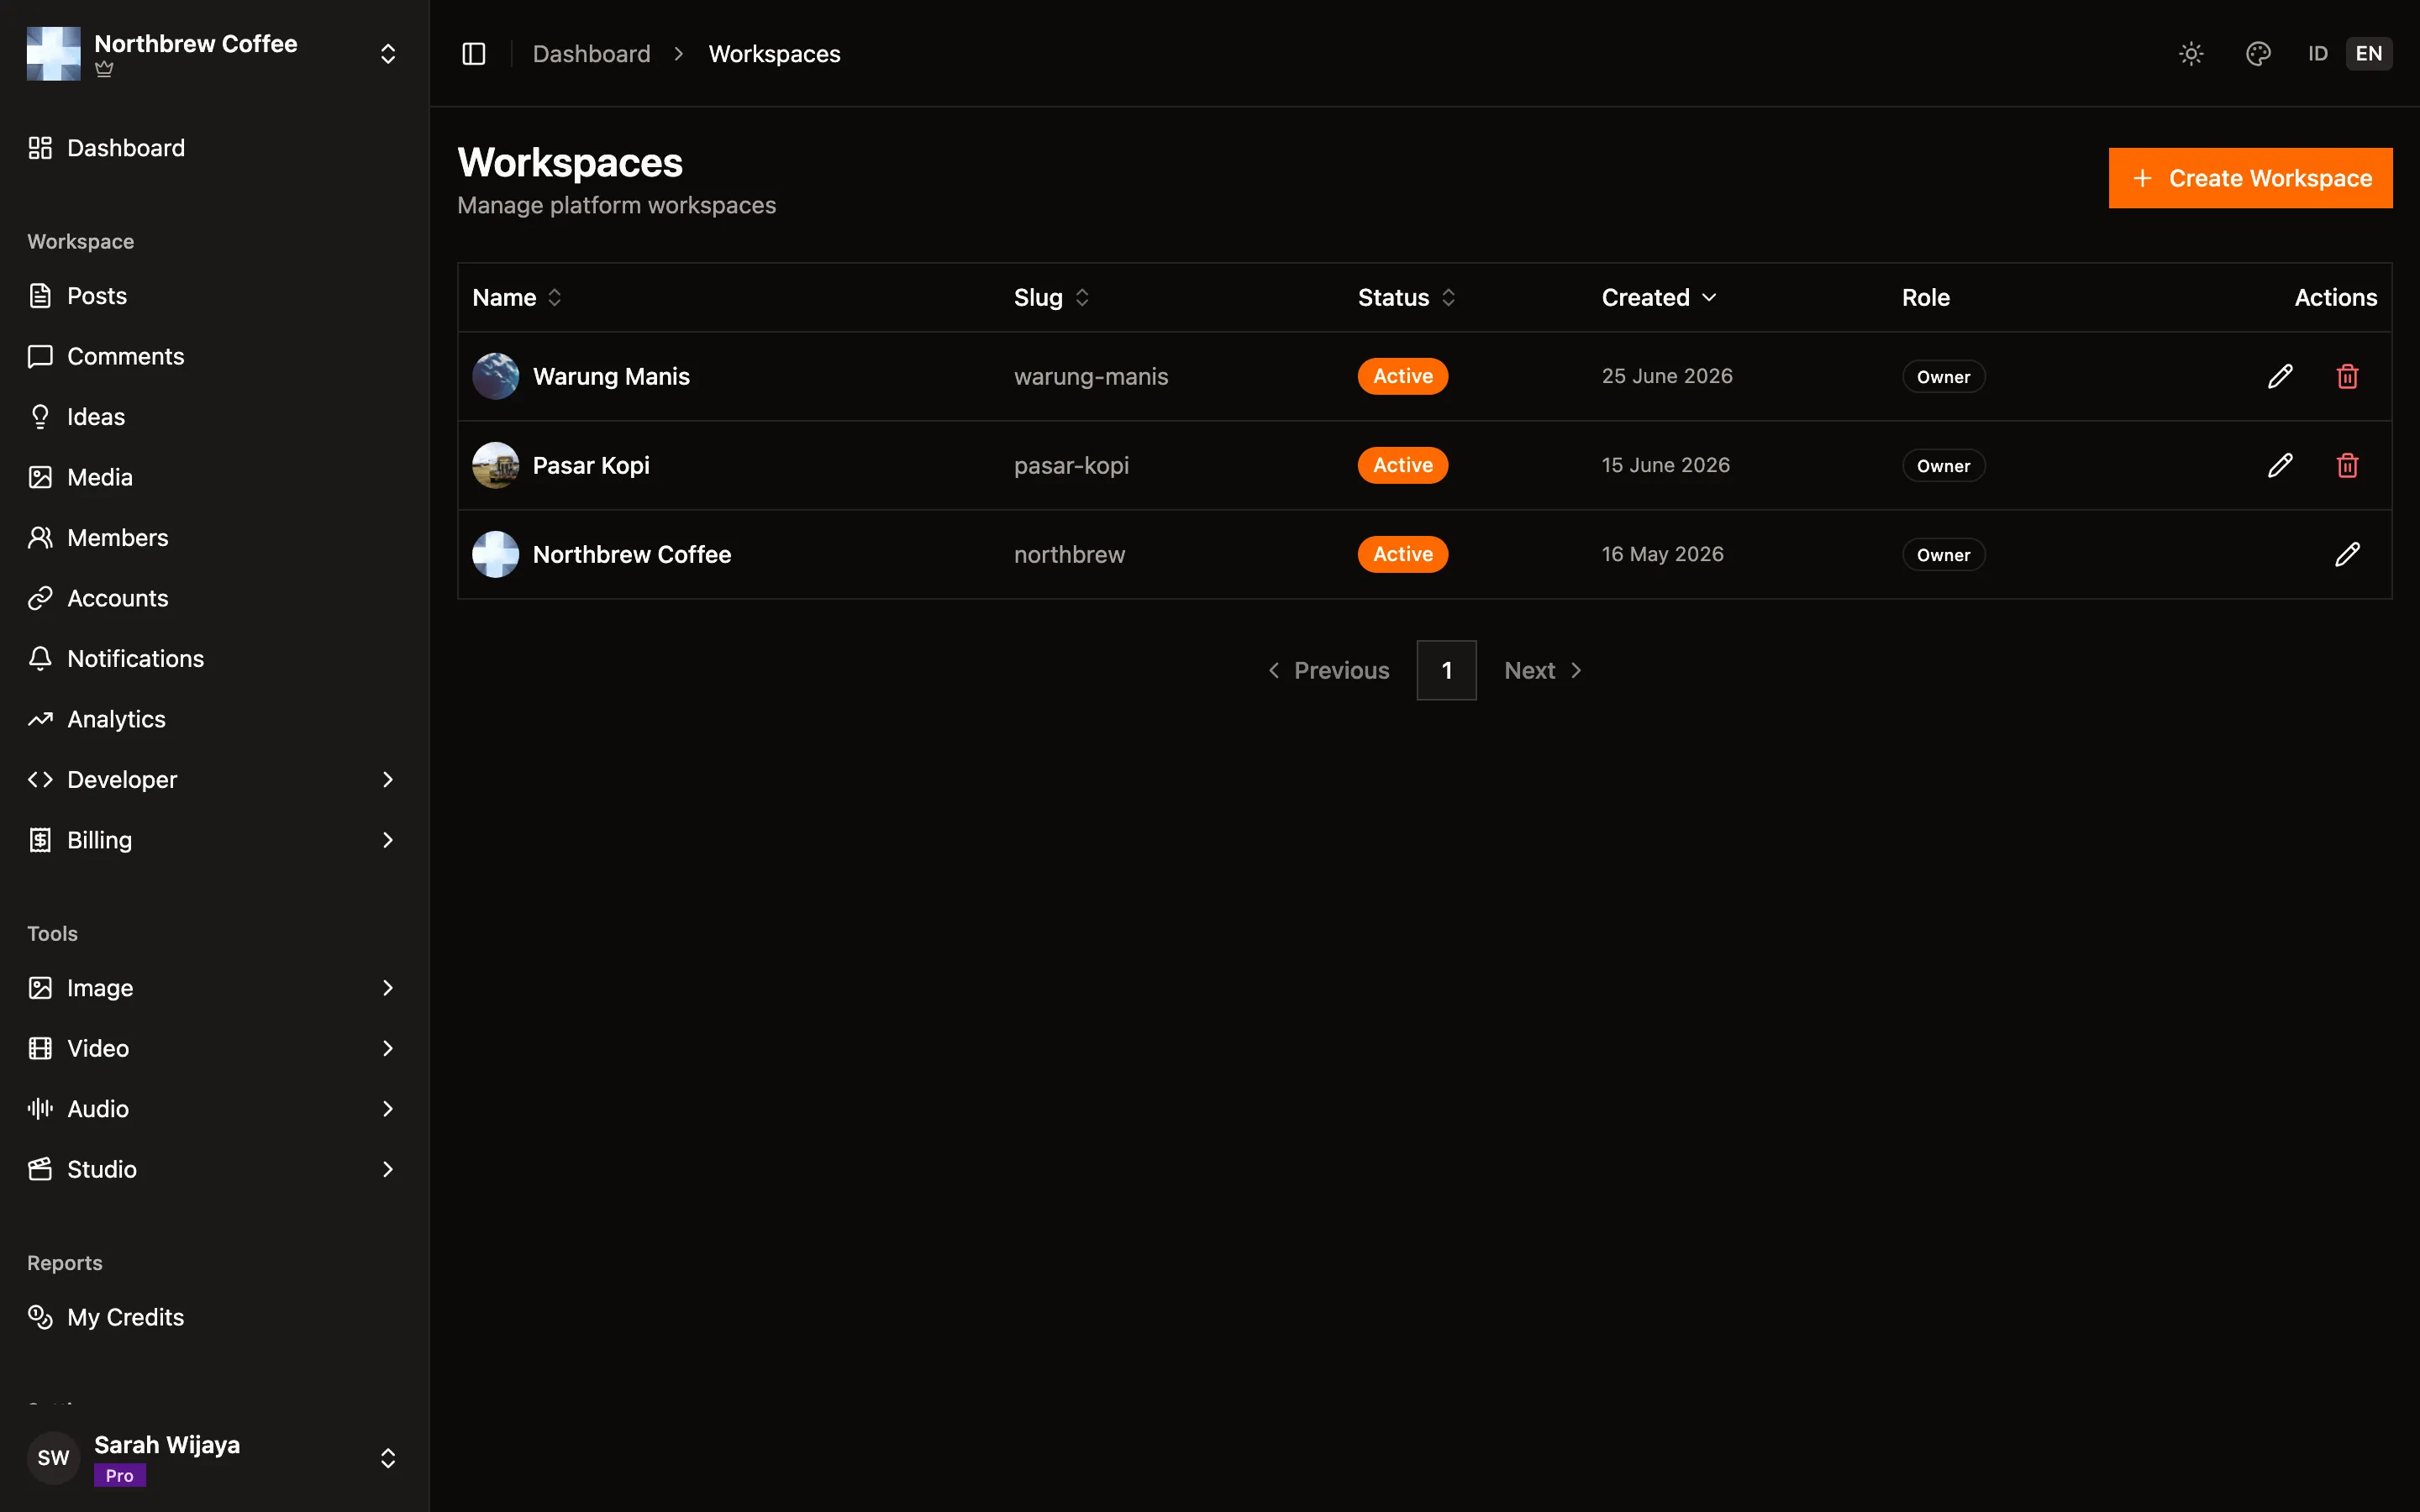
A workspace holds your accounts, posts, and media. One brand, one workspace is the usual setup. Open the workspace switcher at the top of the sidebar, hit Create Workspace, and give it a name you’ll recognise later when there are five of them.
-
Connect a social account
Go to Settings then Connected Accounts and press Connect Account. Pick a platform and follow the permission screen that opens. You’re logging in on the platform’s own site, so Publiz never sees your password.


Once it’s linked the account shows up in the list with its name and avatar, and you can post as it straight away.


-
Write your first post
Open Posts and start a new one. Pick the accounts you’re posting to, write the caption, and add media if you have it. If one platform needs different wording, switch to its tab and override just that caption instead of writing the whole thing twice.


-
Publish now or schedule it
Before you send it, choose how it goes out:
- Now pushes it immediately.
- Scheduled picks a date and time. How far ahead you can schedule depends on your plan, and the composer tells you the limit while you pick.
- Draft saves it without sending anything, which is what you want if someone else has to approve it first.
-
Check that it landed
Published posts show up in the posts list with their status per platform. If one of them failed, the post tells you which platform and why, so you can fix that one instead of reposting everything.
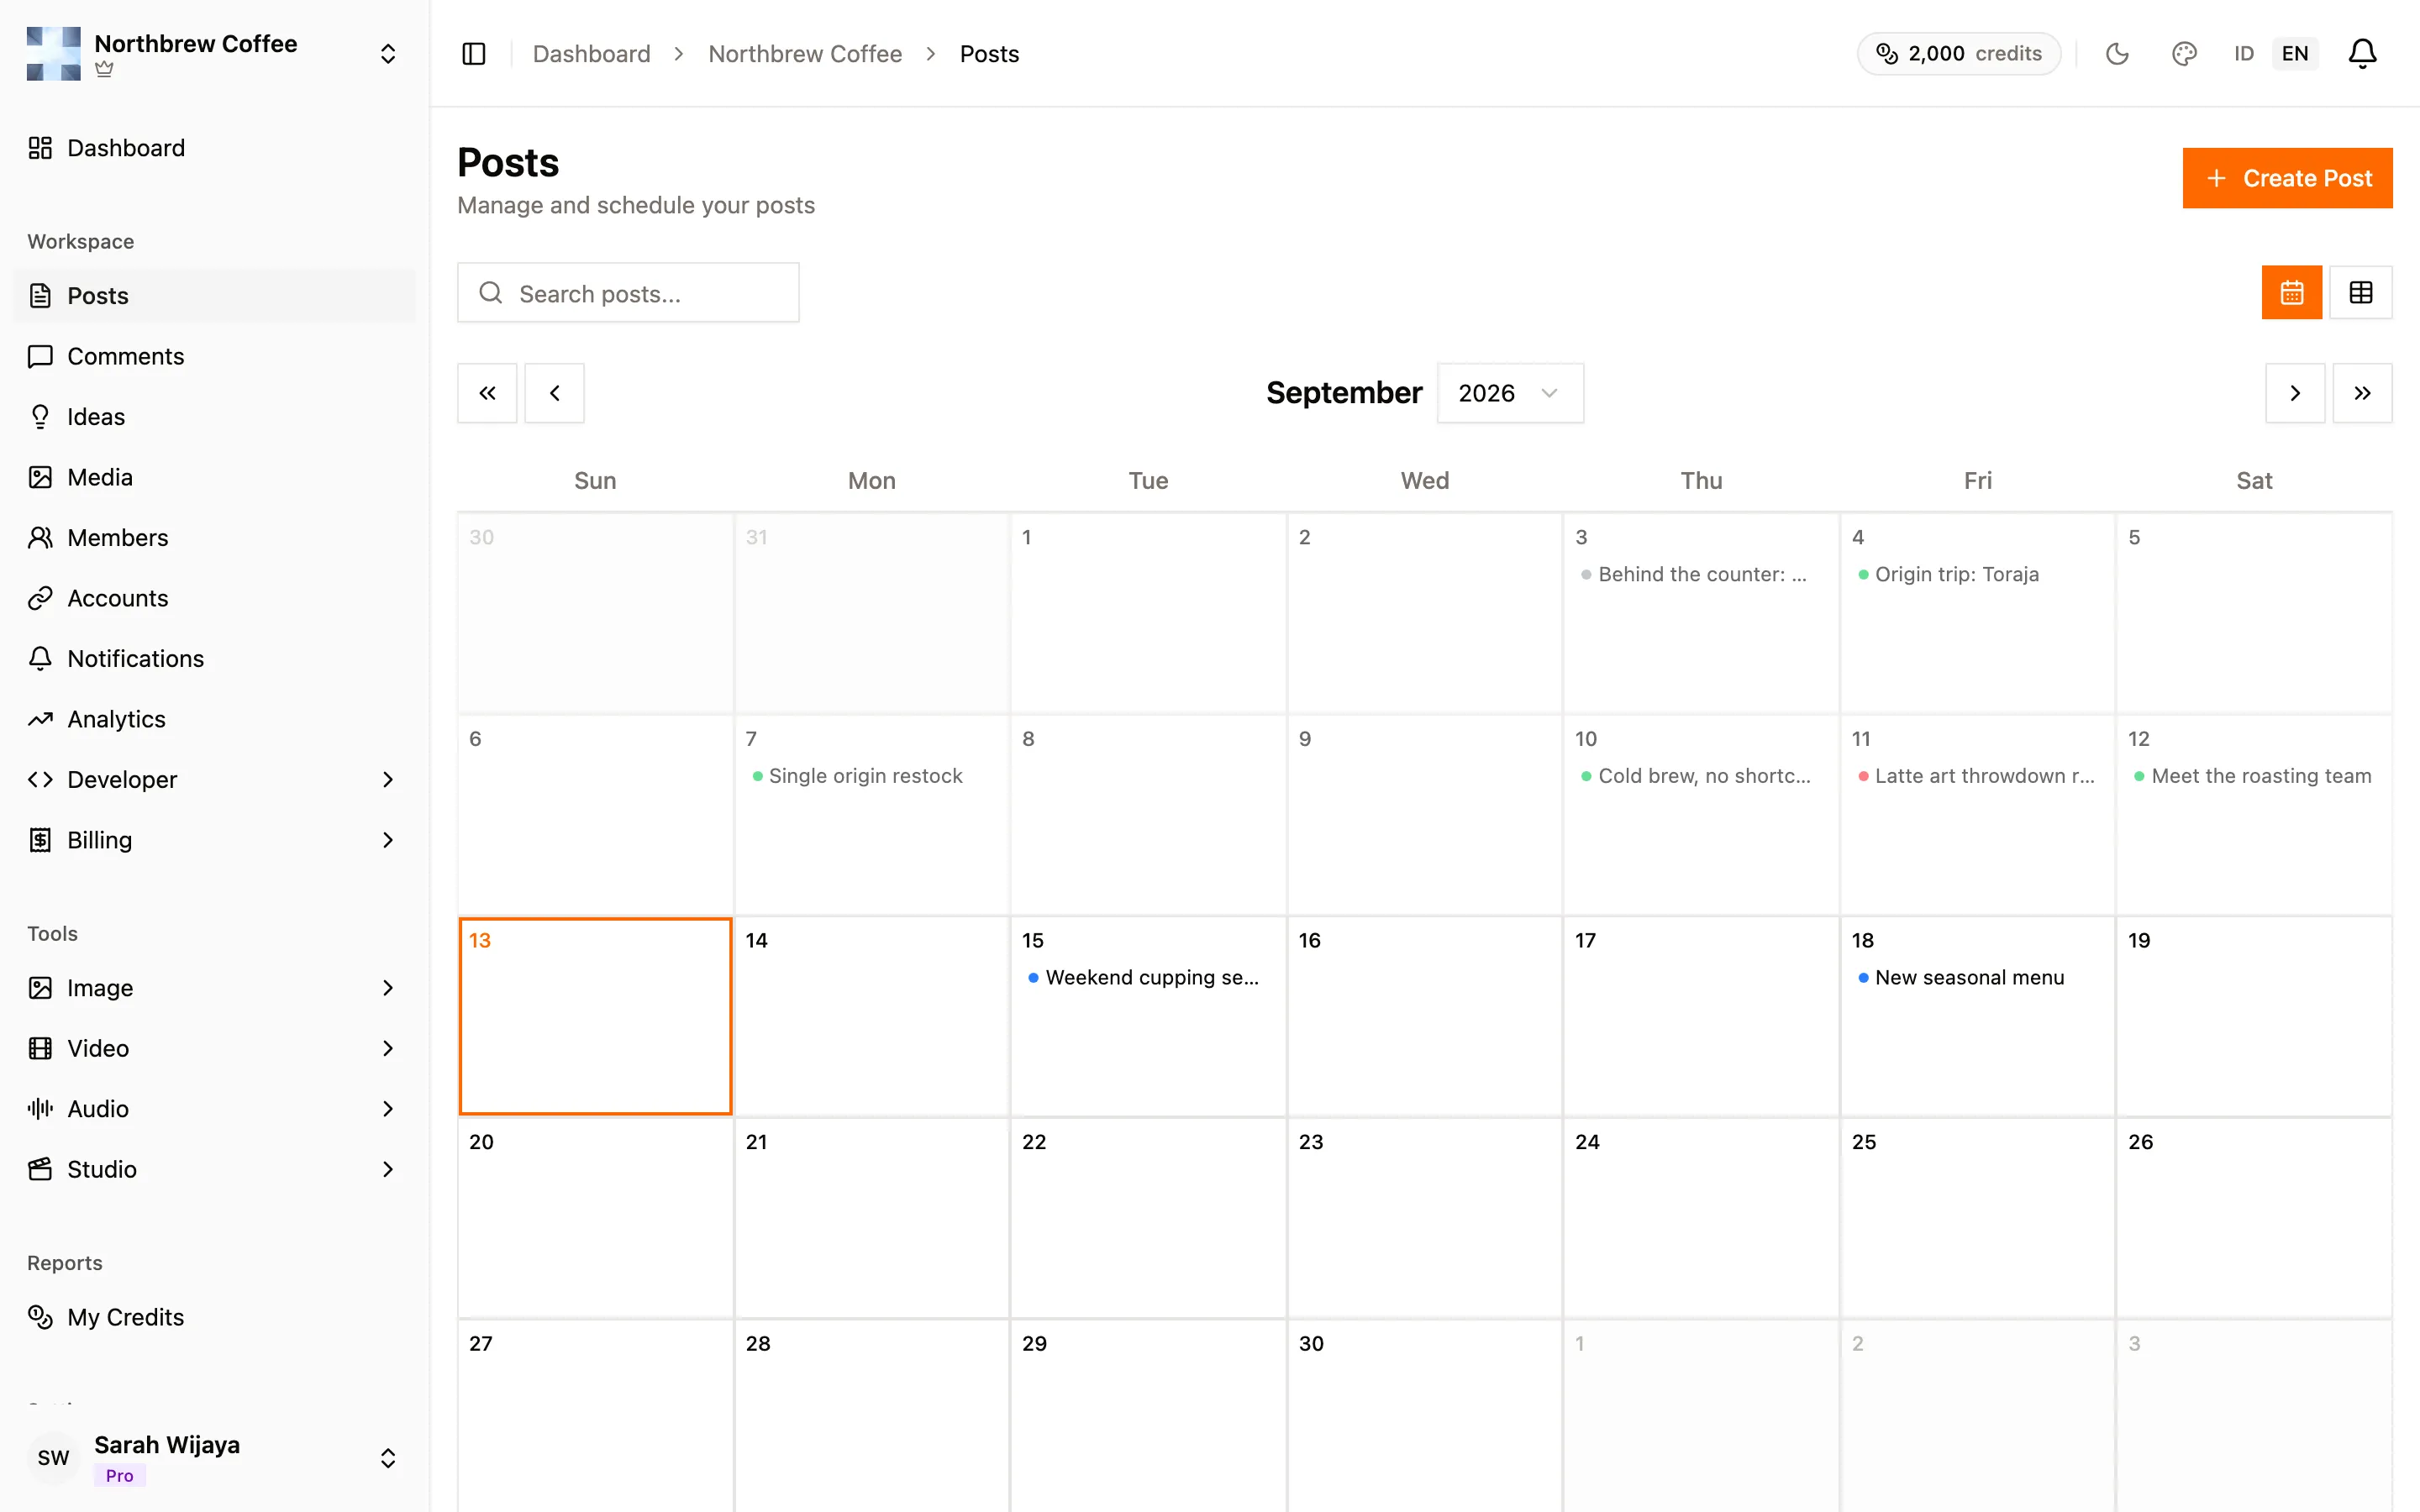
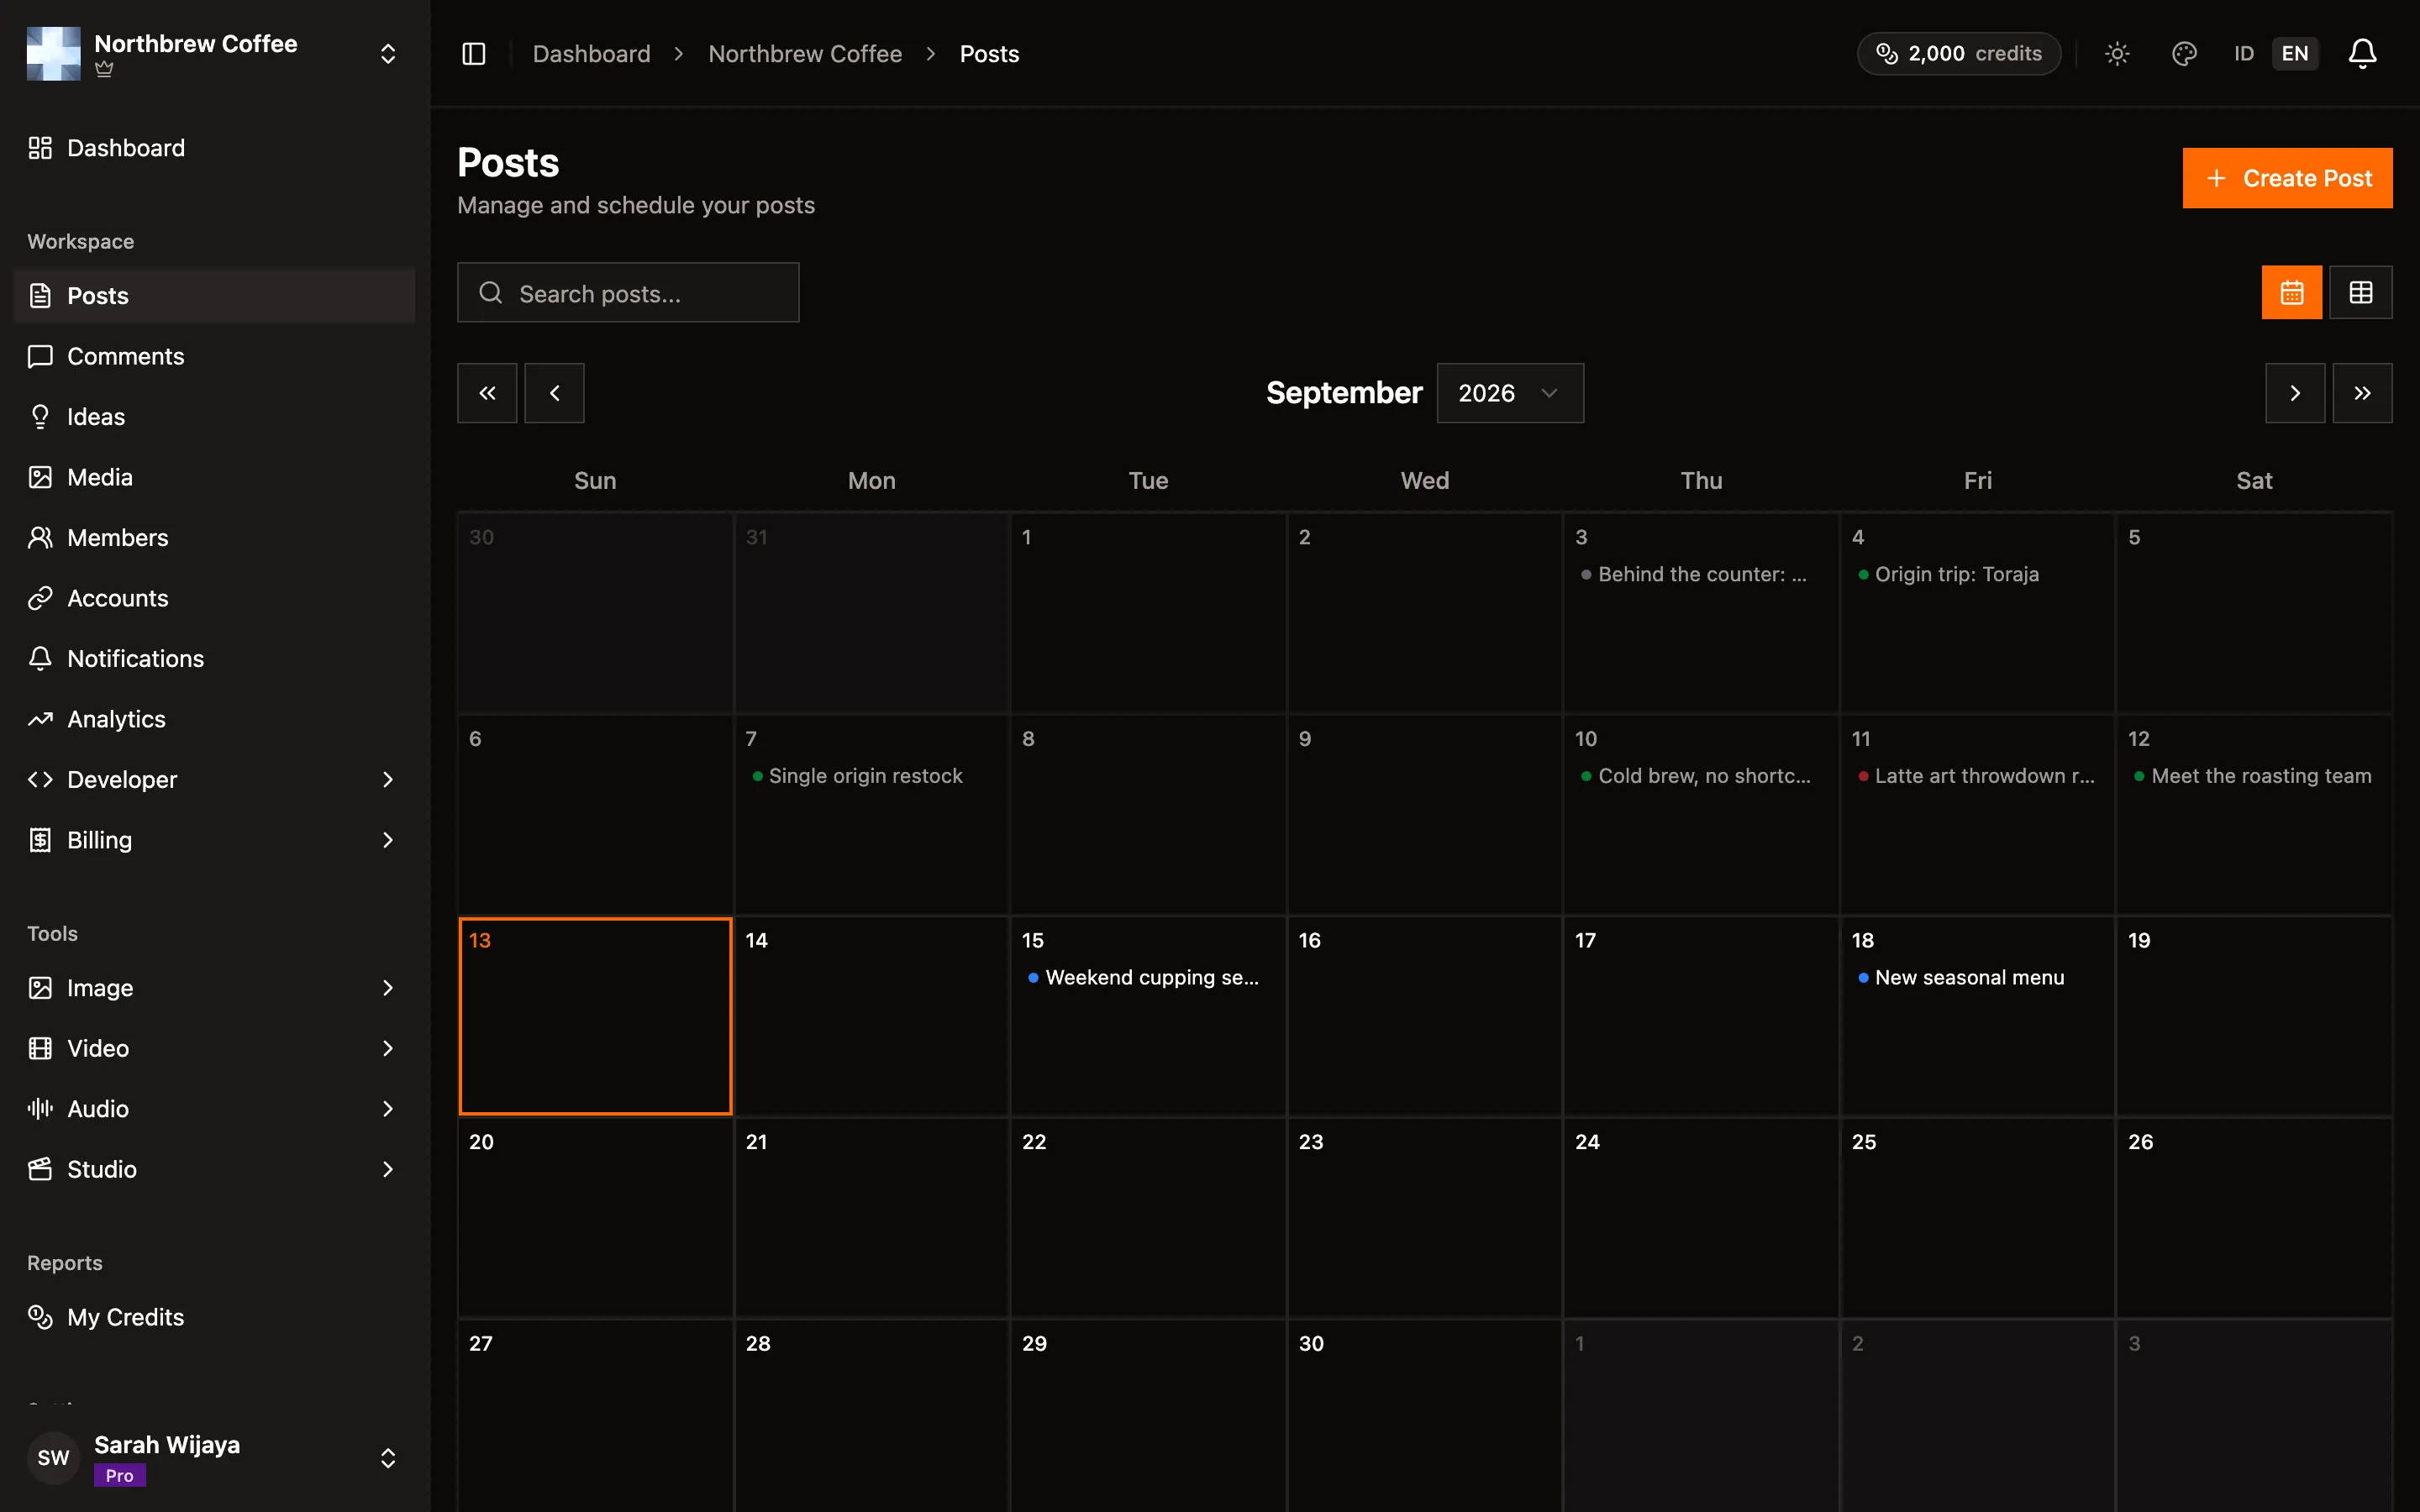
Open one and you get the detail view, with a link straight out to the live post on each platform it went to.
What to do next
Section titled “What to do next”Once the first post is out, these are the things people usually set up next.
- Connect the rest of your accounts. Same flow, one platform at a time.
- Fill the queue. A week of scheduled posts is where the time saving actually shows up.
- Answer your comments. Comments from your connected accounts are collected in one place.
- Invite your team. Settings then Members, with a role per person.
- Try the AI studio. Captions, images, short video, and ideas, paid for with credits.