
Signing in
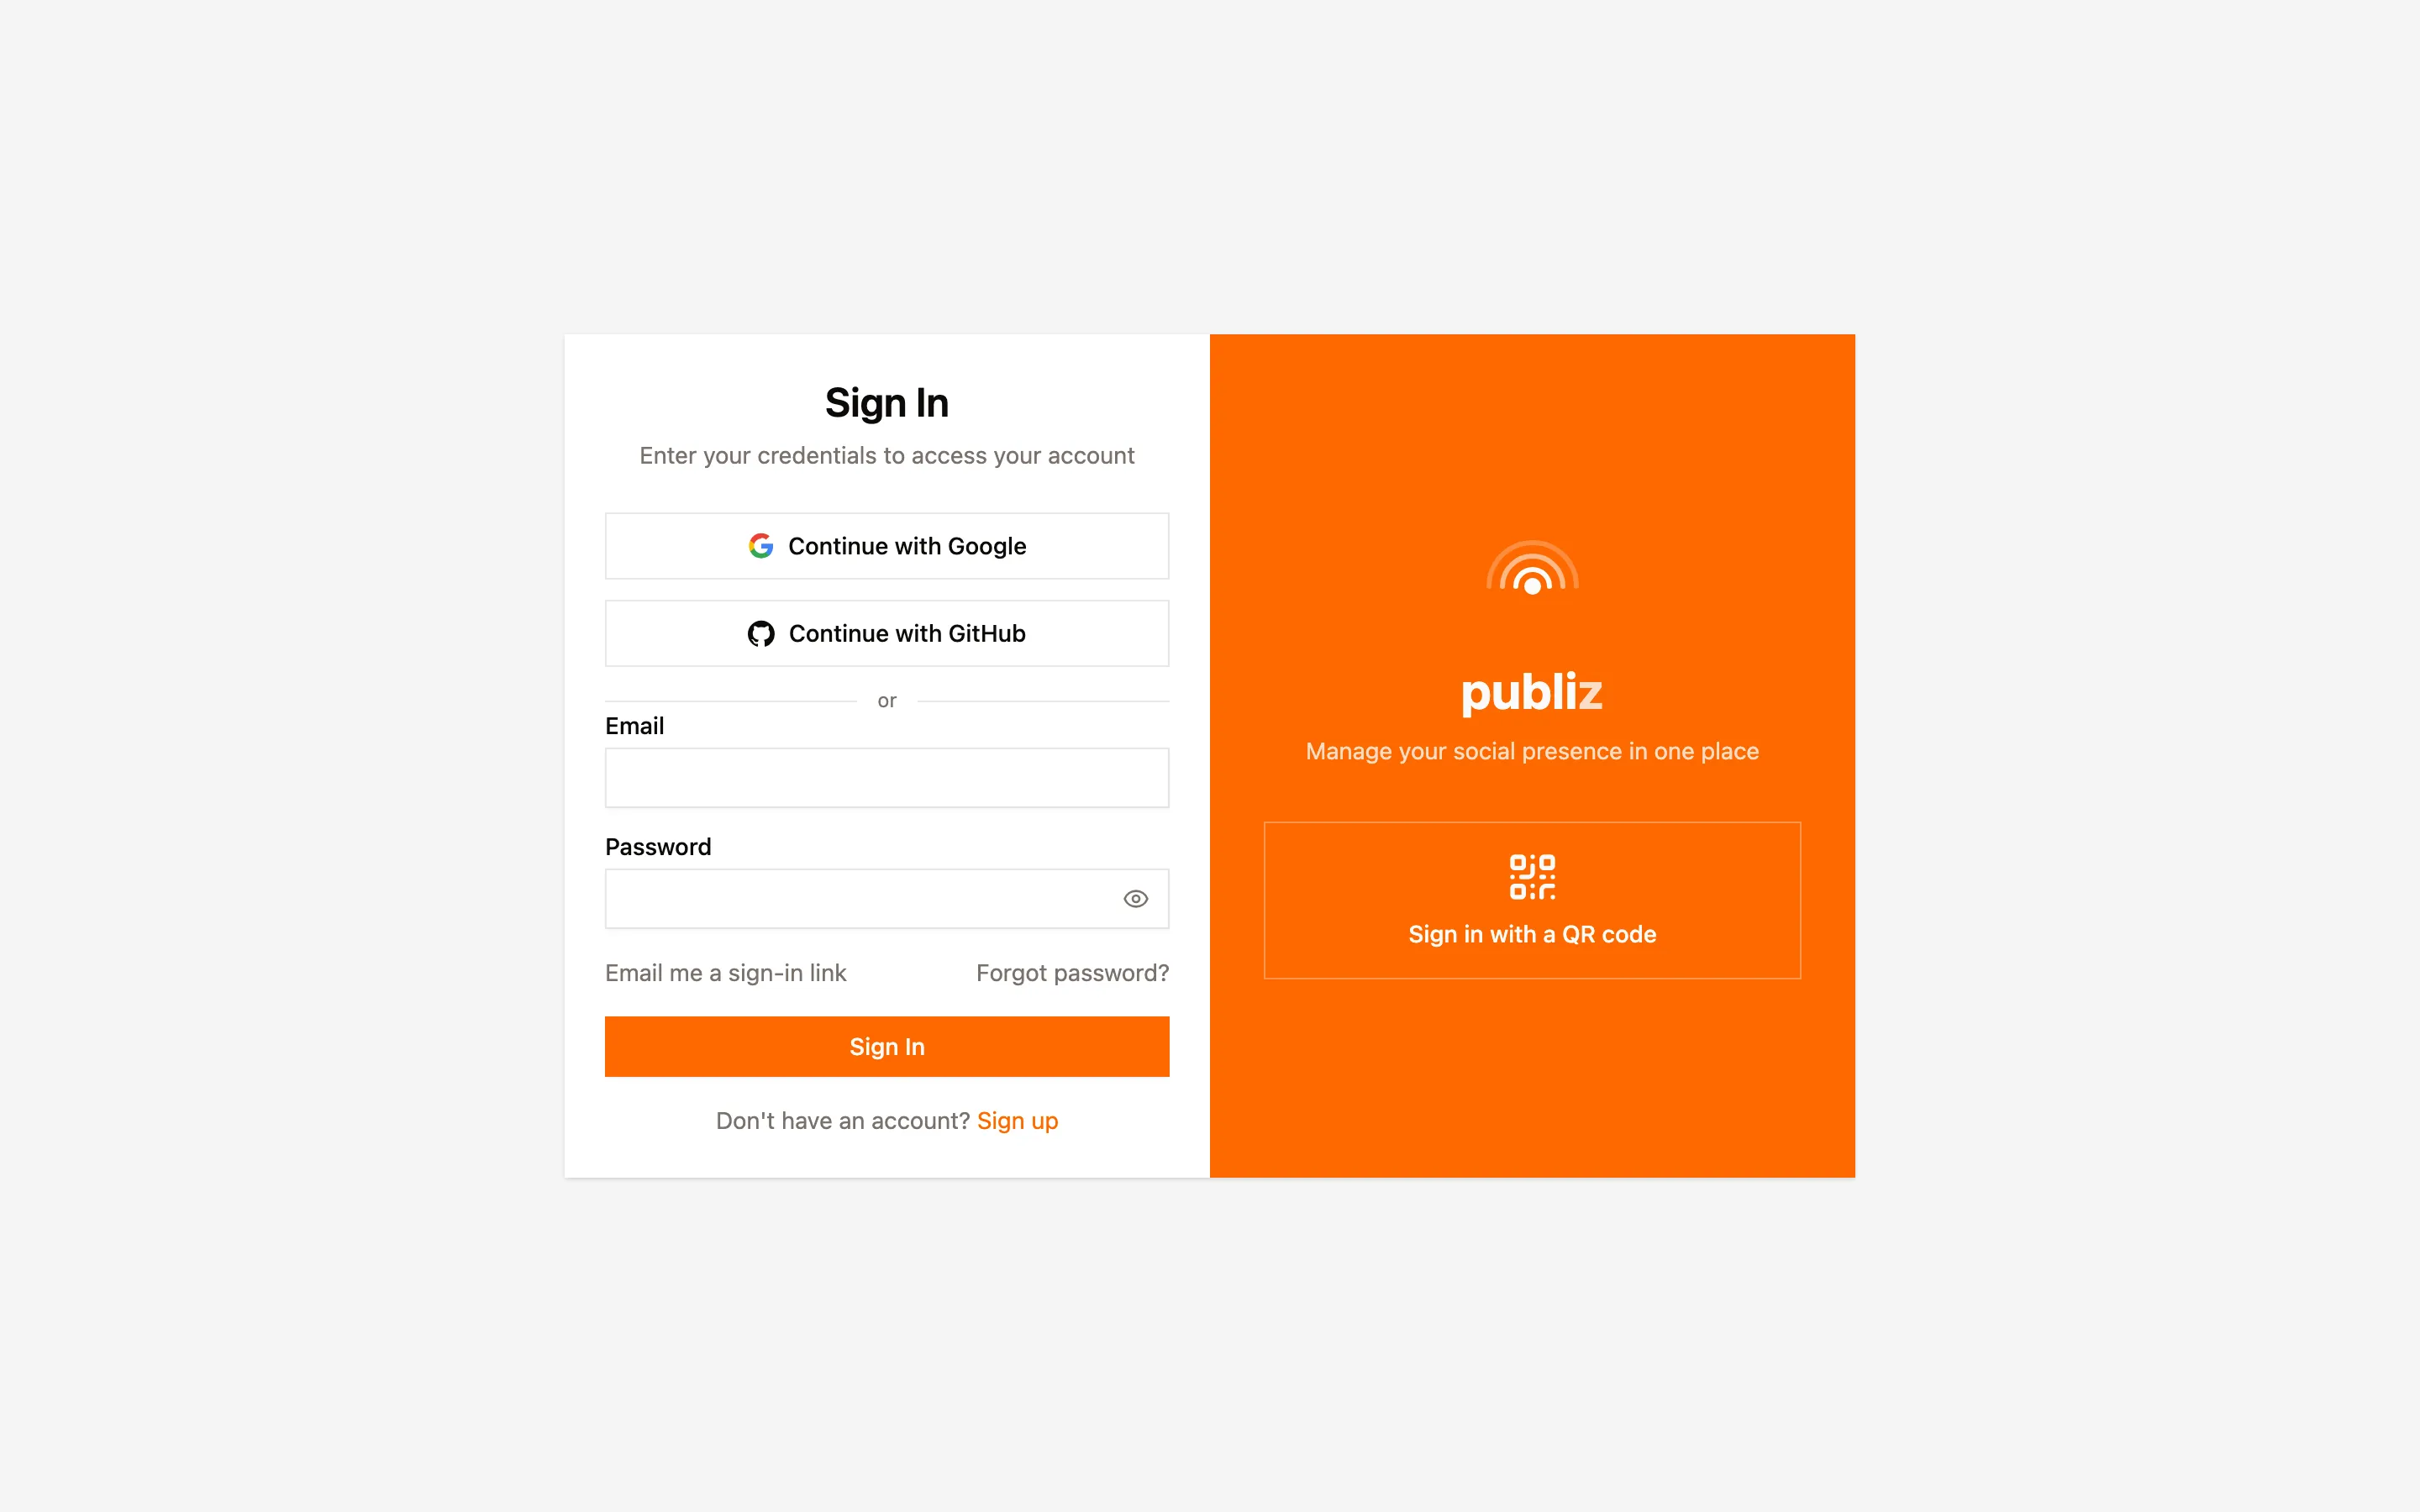
There are four ways into your account. Password is the obvious one, but if you’re on a device where typing a long password is miserable, the QR and magic link options are usually faster.
Email and password
Section titled “Email and password”Enter the email you signed up with and your password. If you forget it, Forgot password? sends a reset link to that address.
If you’ve turned on two-factor authentication, you’ll be asked for a six-digit code from your authenticator app after the password. Lost your phone? One of the backup codes you saved when you set 2FA up works in the same box, and each one works once.
Google or GitHub
Section titled “Google or GitHub”The buttons at the top of the sign-in page hand you over to that provider, and you come back signed in. Which buttons appear depends on what’s enabled for your Publiz account, so don’t worry if you see fewer than someone else.
If the provider doesn’t tell us your name, Publiz asks for it once right after you land, then never brings it up again.
Magic link
Section titled “Magic link”Email me a sign-in link sends a link to your address that signs you in when you open it. No password involved.
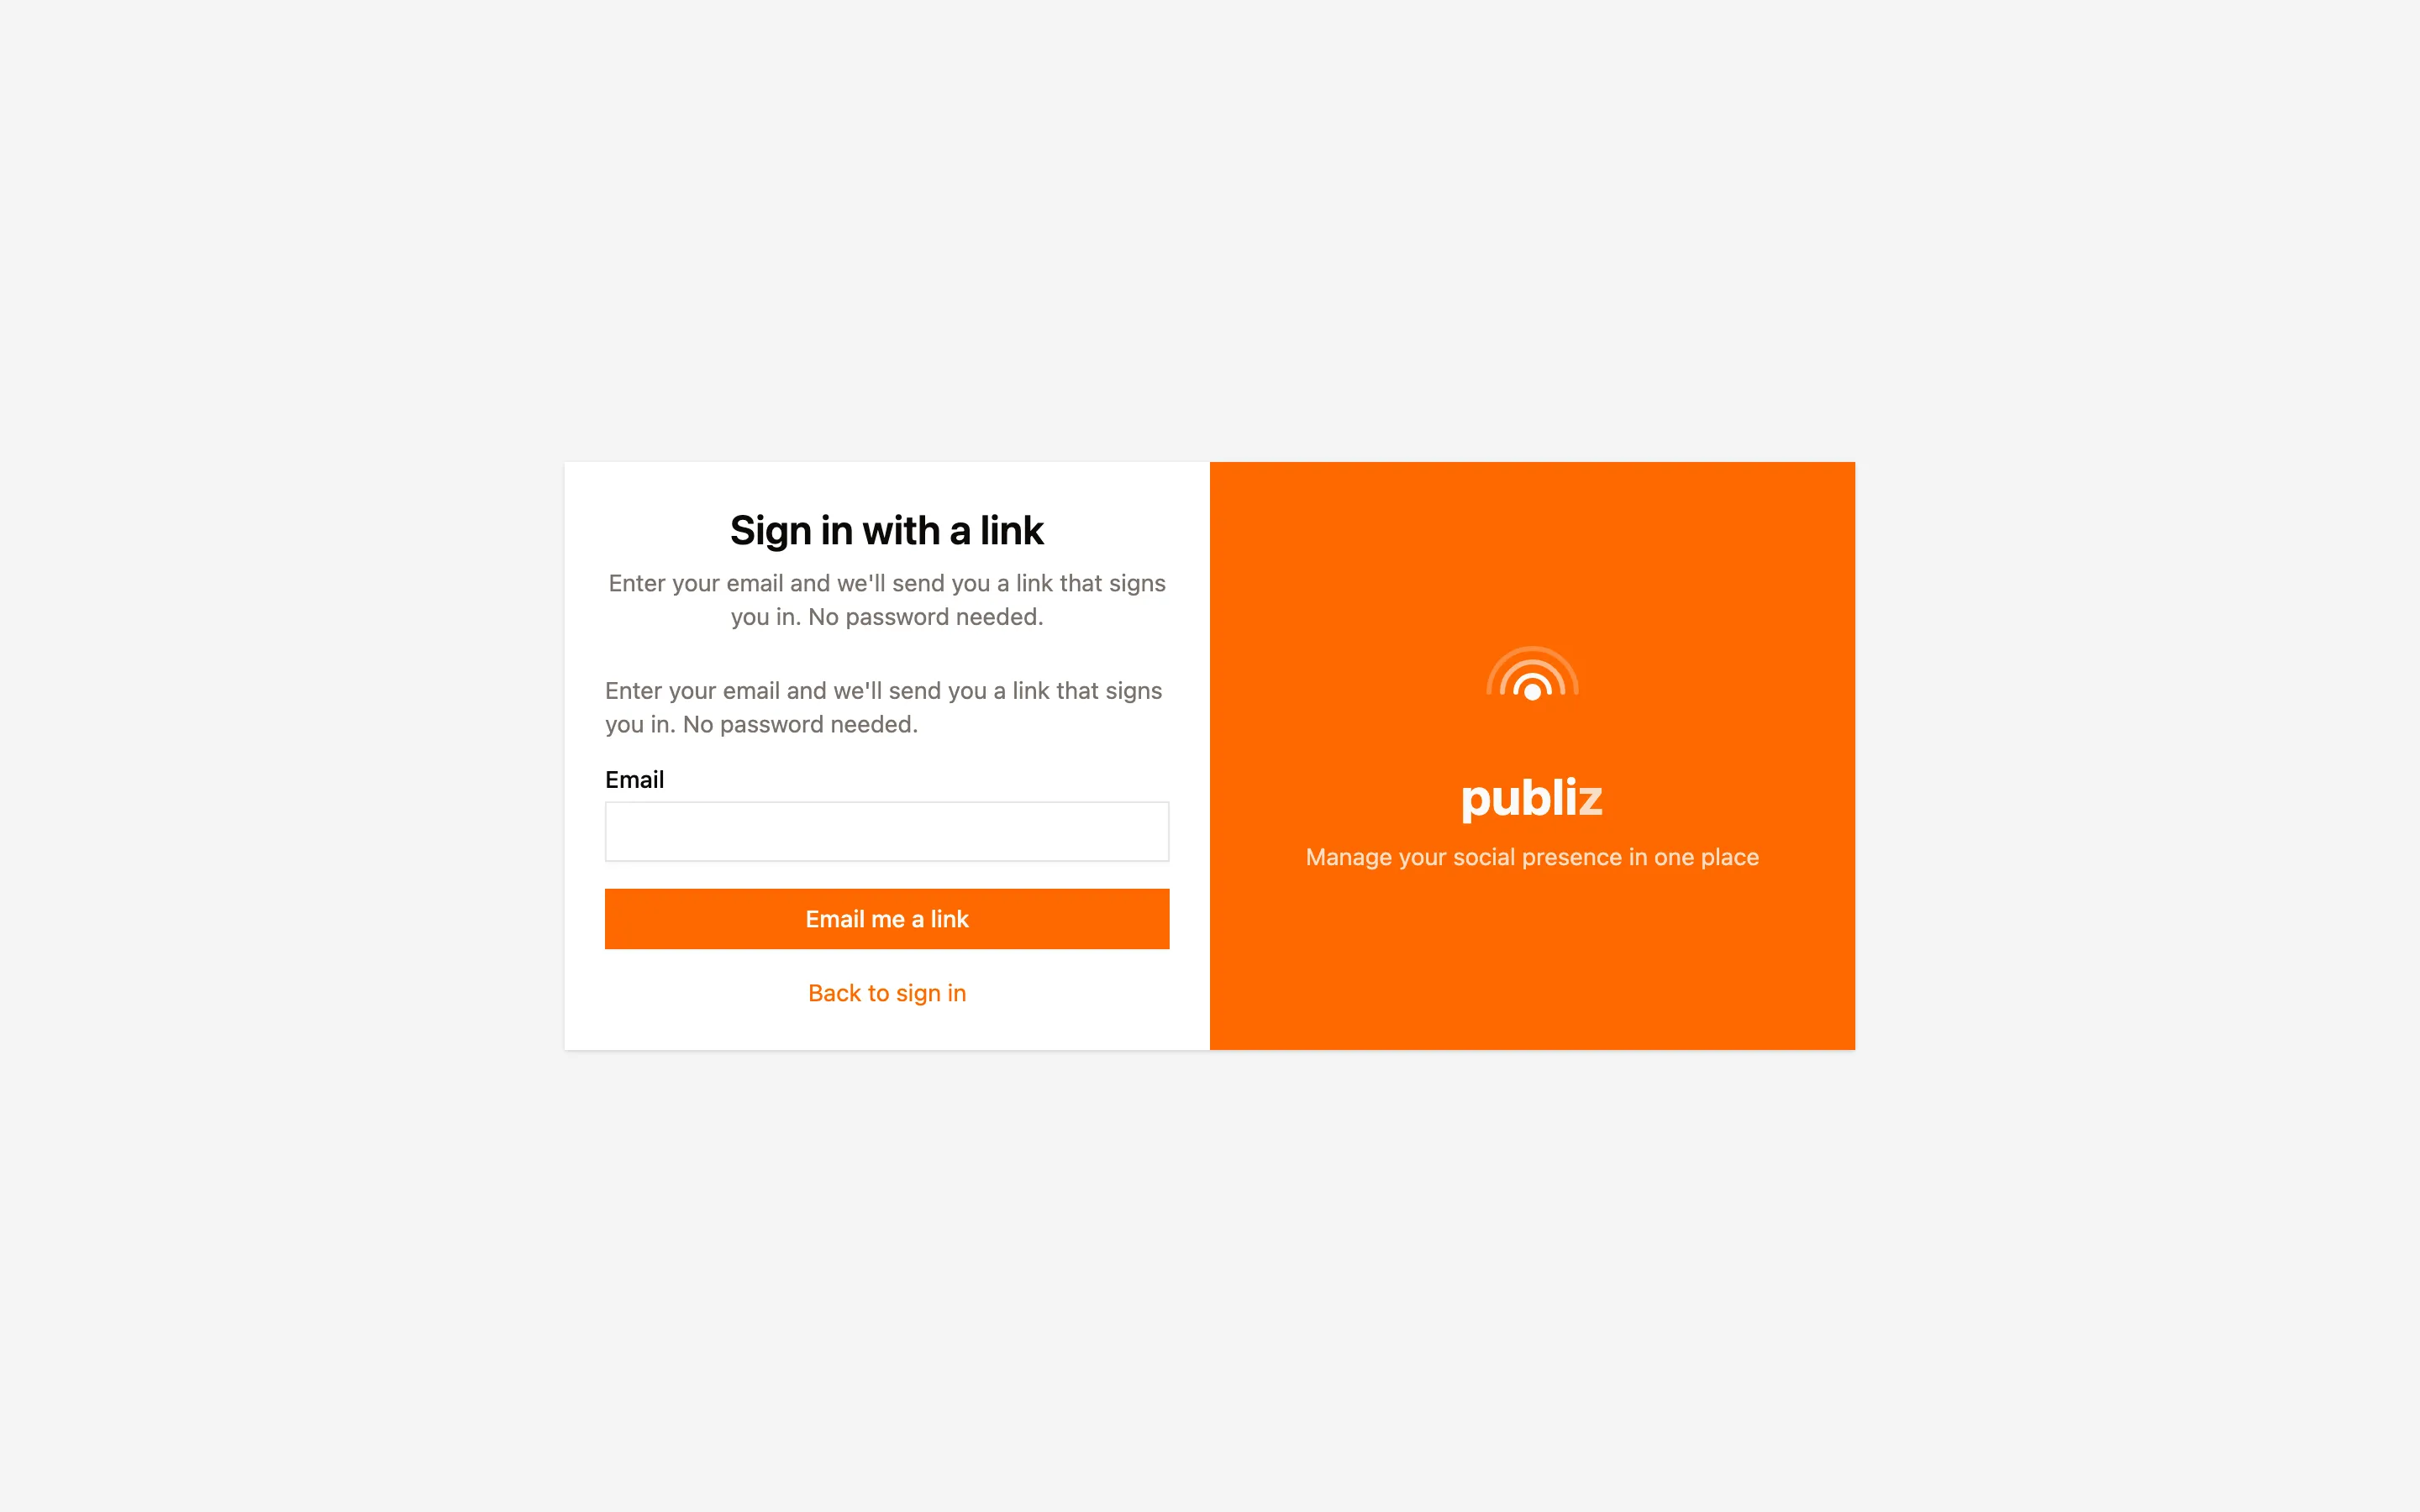
Two things worth knowing: the link works once, and it expires after 15 minutes. Open it on the same device you asked for it from and the sign-in completes on the spot. Open it somewhere else and you may be asked to confirm, because a link that signs in any device that receives it is a link worth stealing.
QR code
Section titled “QR code”This is the one to use on a TV, a shared machine, or anywhere typing a password feels like a bad idea. You need a phone or laptop where you’re already signed in to Publiz.
-
On the new device, pick Sign in with a QR code on the sign-in page. A code appears, along with a short text code underneath it.


-
On the device you’re already signed in on, scan the QR. If the camera isn’t cooperating, open the link shown under Can’t scan? instead and type the short code.
-
Check the code matches, then approve. The approval screen tells you which browser and IP address asked, so you can tell your own sign-in apart from someone else’s.


-
The new device signs itself in. You don’t have to do anything else there, the screen changes on its own.
The code expires after a few minutes and you can ask for a fresh one from the same screen. While you wait, the screen tells you where things stand: waiting, scanned, approved, denied, or expired.
Where you’re signed in
Section titled “Where you’re signed in”Every sign-in becomes a session you can see and end. Open Settings, then the Devices tab, for the list of browsers and devices holding a session, along with when each was last active.


Sign out anything you don’t recognise. One detail that surprises people about QR sign-in: the device that gets recorded is the one that signed in, not the one that approved it. So look for the TV or the borrowed laptop in this list, not your phone.